By default all new Catalyst Cloud projects in the Porirua region (nz-por-1)
are created with a router and network. If you have removed this, or simply
wish to create additional networks, then the following guide will show you
the steps required to achieve this.
Creating the required network elements
We need to create a router and network/subnet.
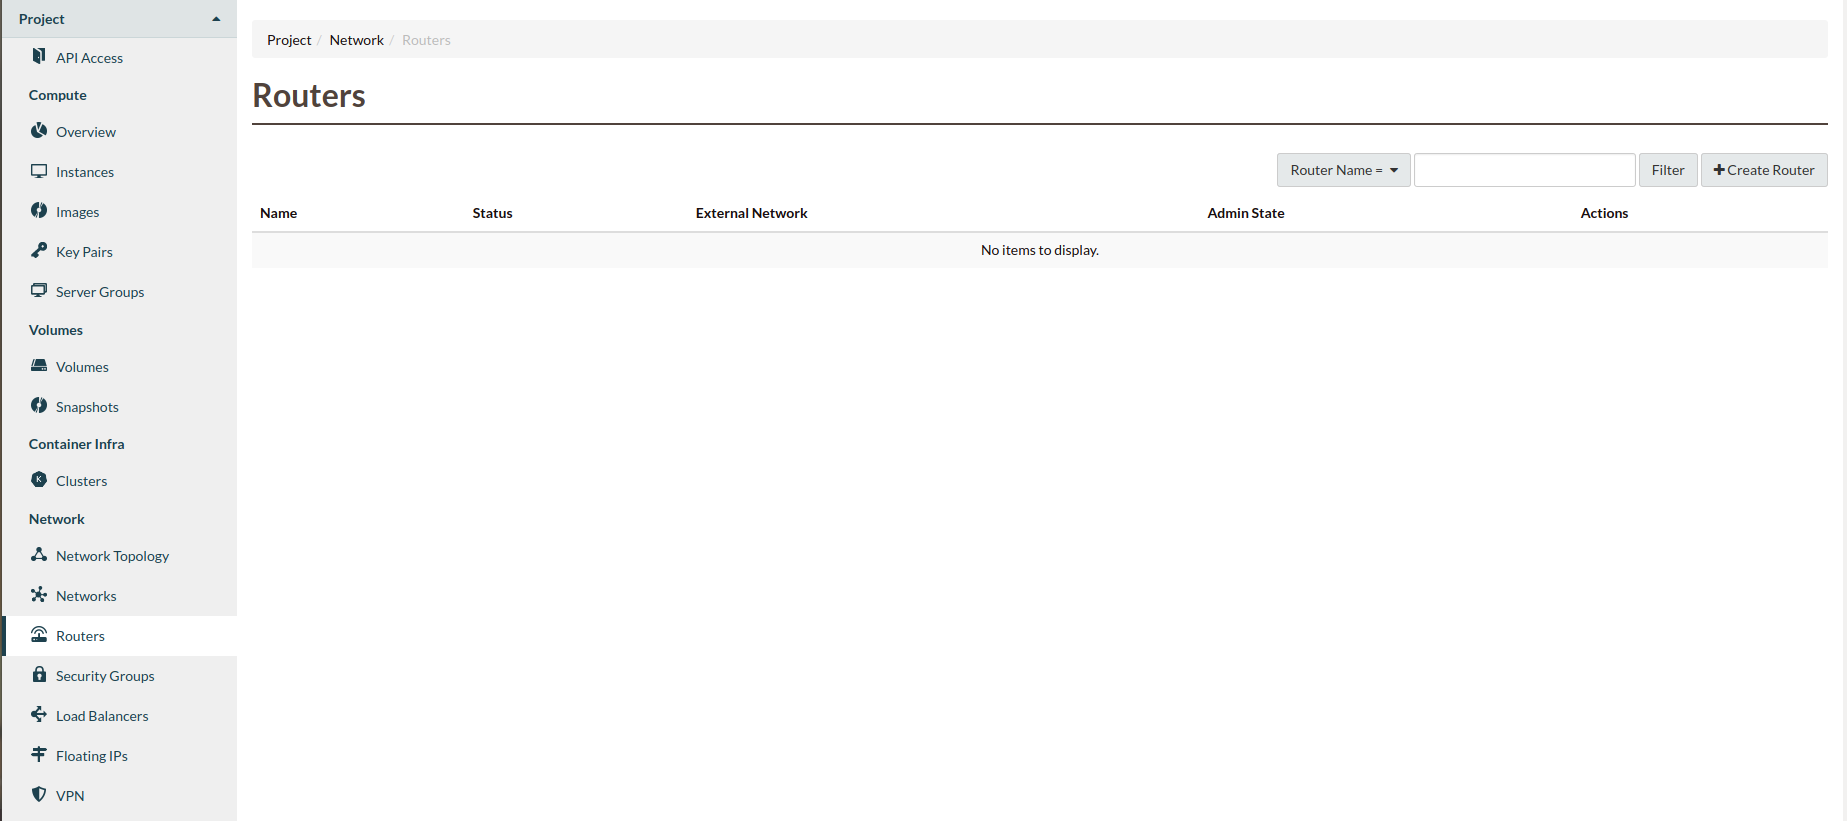
Navigate to the “Routers” section and click “Create Router”:
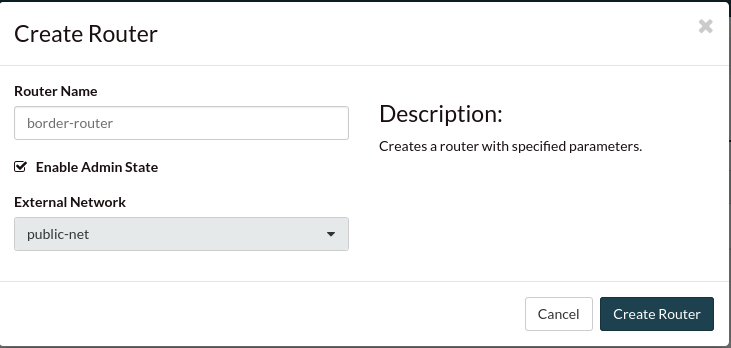
For this example we will name our router “border-router”, this is an
arbitrary name, you could use whatever you would like.
Then select the admin state check-box and select
“public-net” as the external network:
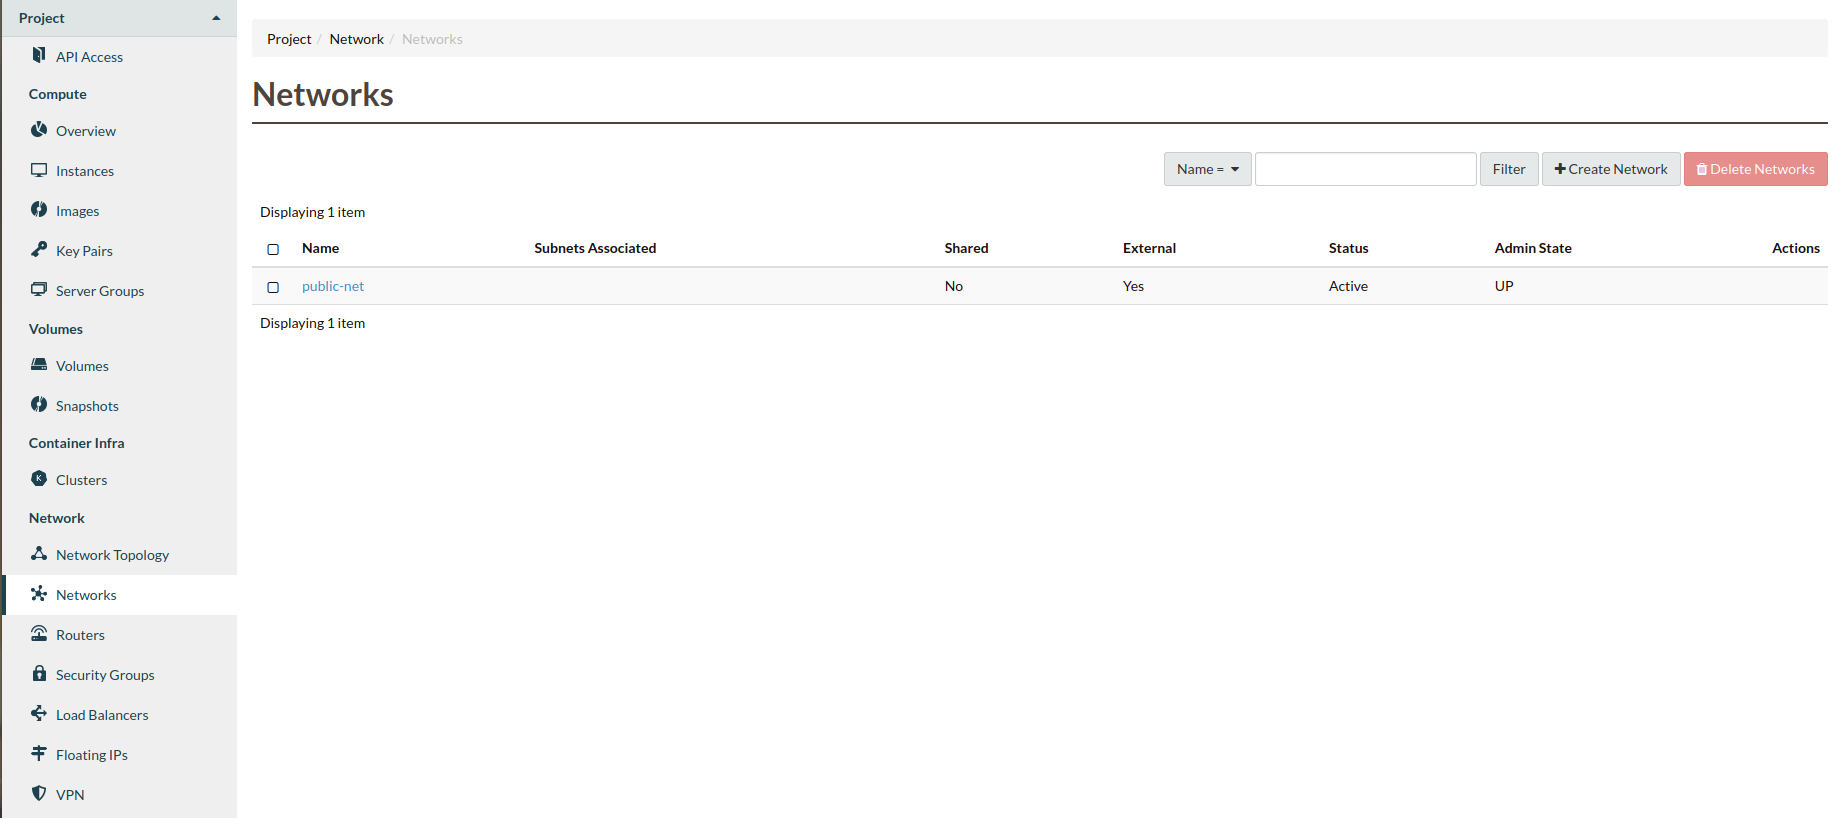
Navigate to the “Networks” section and click “Create Network”:
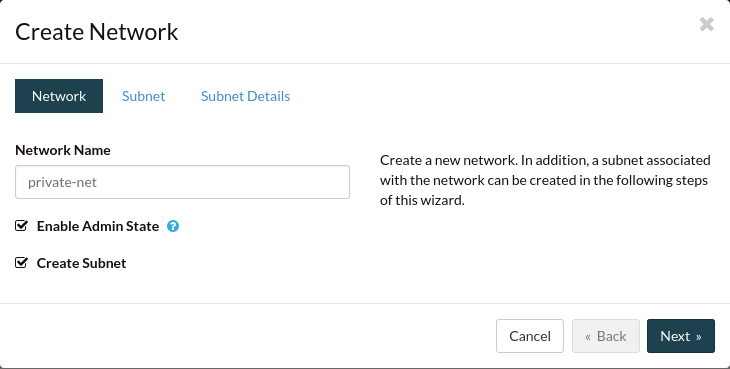
We will name our network “private-net”, we will choose this name
so that we do not confuse it with the “public-net”. You should
also select create subnet and click “Next”:
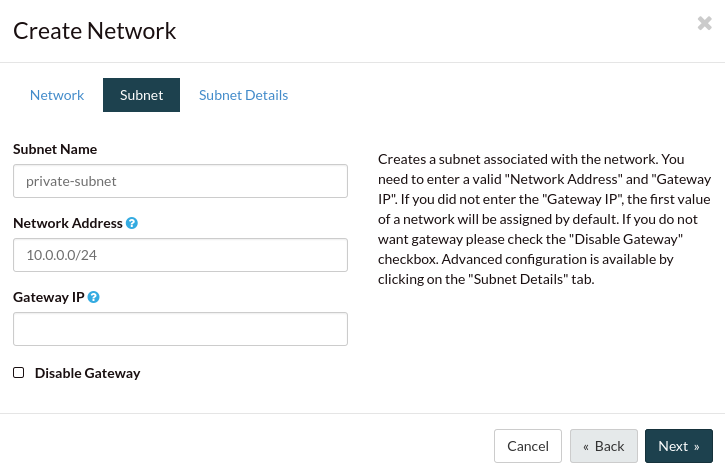
Name your subnet “private-subnet”. Here you can either select a network address you
would want to use for your subnet, you can allow one to be assigned for you,
or you can disable the gateway all together. For this tutorial we will apply a
simple address and click “Next”:
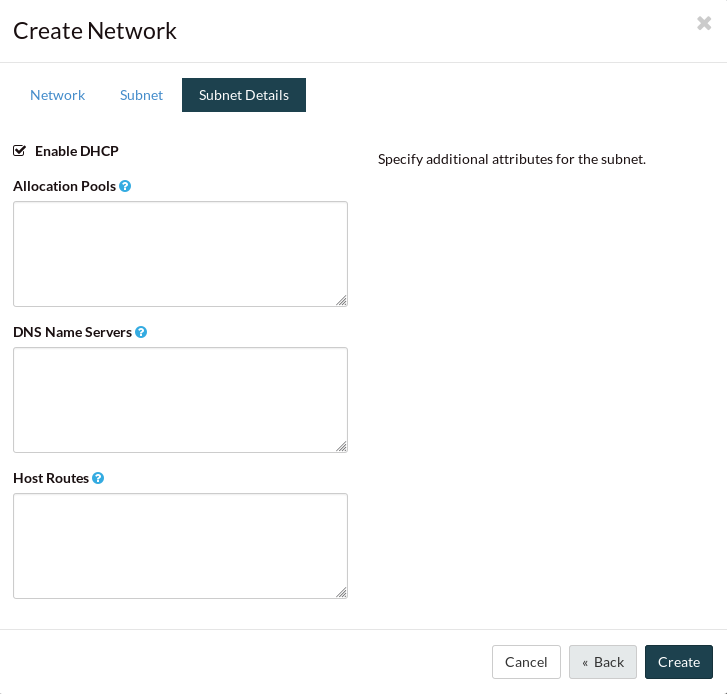
The Subnet Details page is normally, by default, empty. However you can define
the different fields however you’d like. Specifications like:
At the moment if you leave the DNS field blank the dashboard will automatically
allocate it to the catalyst cloud DNS. So it is entirely optional.
Click on the router name in the router list:

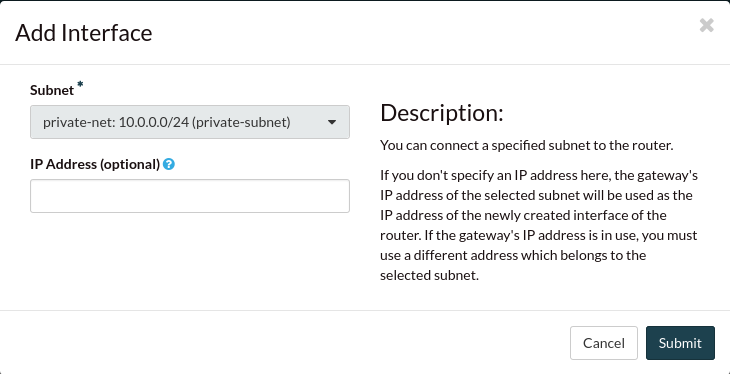
Select the “Interfaces” tab and click “+Add Interface”:

Select the correct subnet:
You should now have a network topology that looks like this:
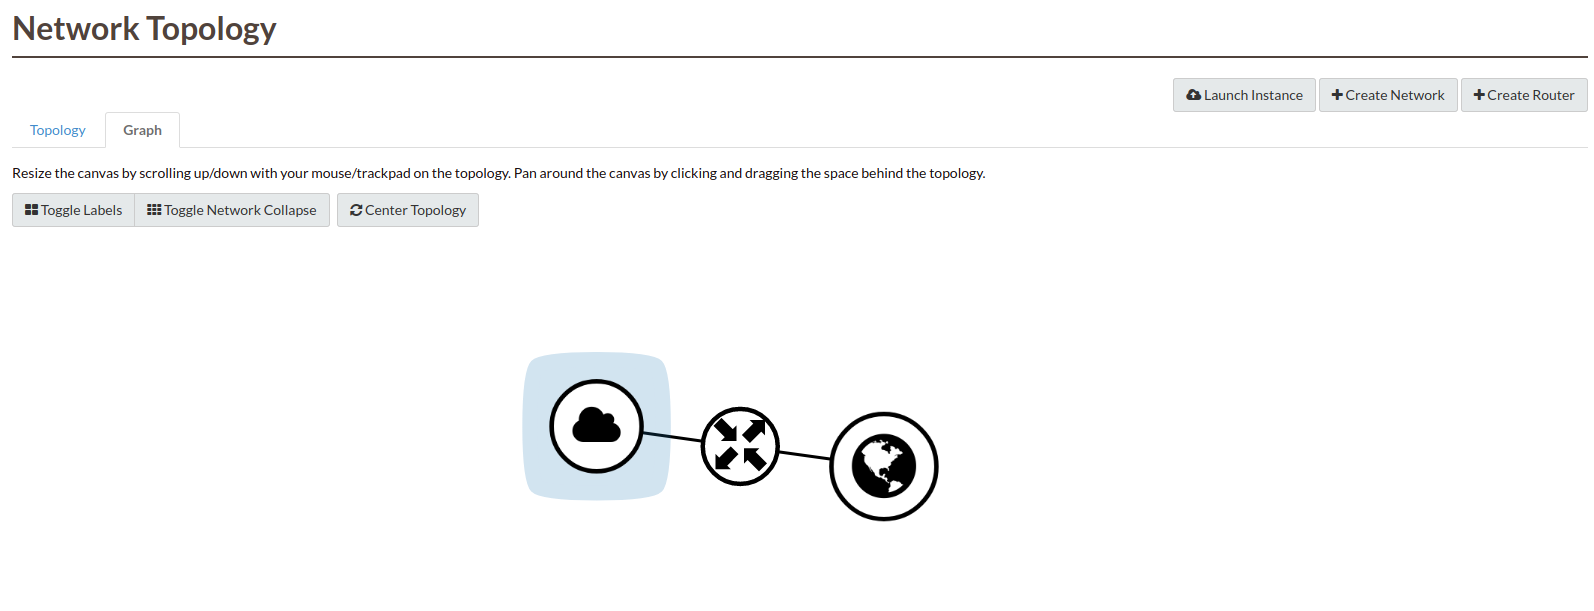
Following the configuration details this tutorial has advised, you should
now have a network called private_network that connects to your
border-router and then on to the wider internet. This network can
then be used to host instances which will then be able to connect to the
outside internet through this connection.
Using the CLI
You are also able to create a network using the CLI. If you look through
this section of the documentation.
While it talks about setting up your first instance there are steps at the
beginning showing you how to create routers and networks using the CLI.