Windows (Powershell)
The following guide will take you through the process, from beginning to end of
installing python3 and all other dependencies that are needed for your command
line to function correctly when interacting with the Catalyst Cloud.
The process also includes installing visual studio, installing pip and creating
a python virtual environment on your command line.
First, we need to install python3 onto our windows machine. We can find the
download for python3 here. The downloads page looks like this:
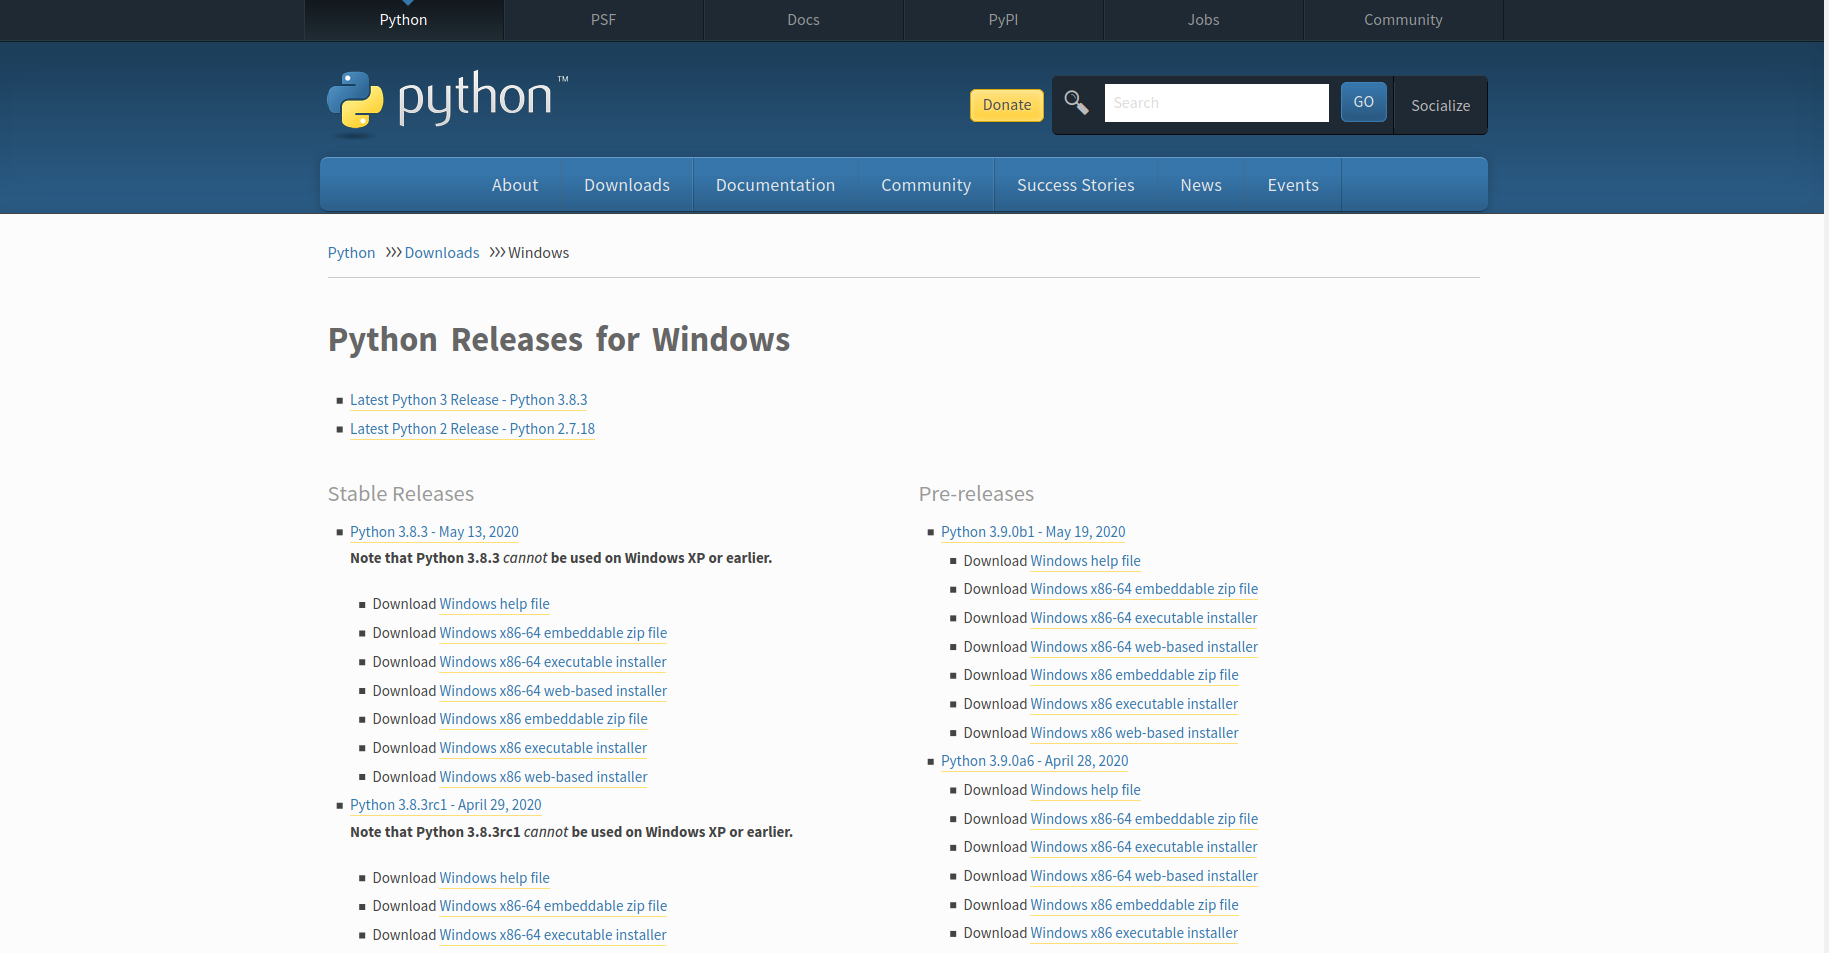
Under Stable releases select Windows x86 executable installer if you are
using a 32 bit system or Windows x86-64 executable installer if you have a
64 bit system. Once the file is downloaded we need to run the installer, which
will open up a wizard:

Before progressing any further, you need to make sure that you select the box
at the bottom of this screen. This will add python to your powershell’s path,
meaning we can access it further on in this tutorial.
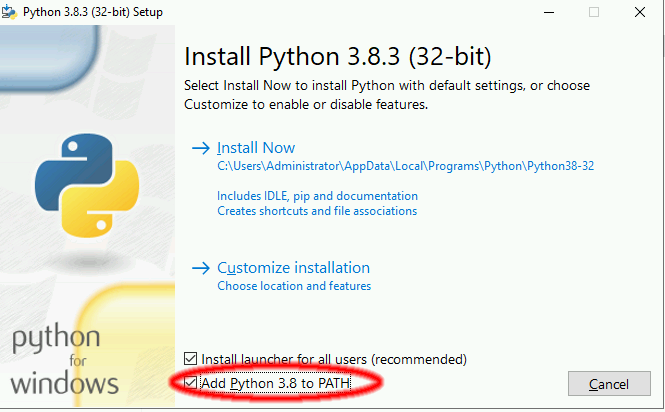
Once that is selected we click on custom installation and are brought to this
screen:
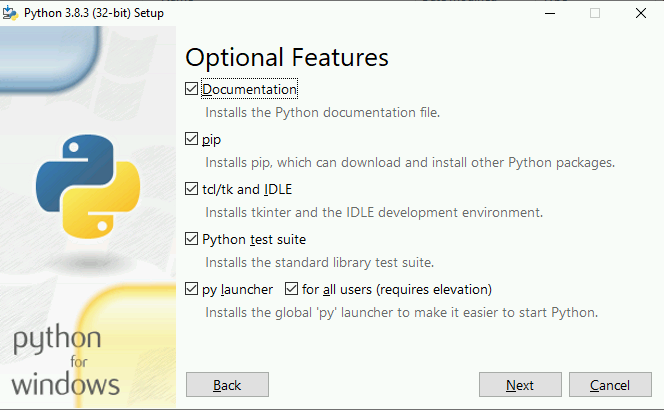
This screen lists all the additional options for your installation. It is
recommended that you do not change these and for the purposes of this tutorial,
you will need both pip and the python test suite going forward.
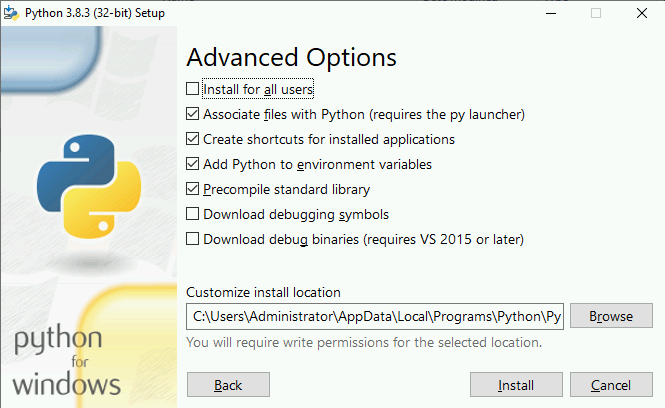
After this screen you have some additional configuration options. You can
specify where you are installing the python binaries and if you want them to
be preconfigured in a certain way. For now, select the ones displayed below
and then hit install.
Once the installation is done, if you load up a powershell window and type
python you should be met with this sort of message; indicating that our
installation has been a success:

Now that we have python3 installed, we can move on to installing
microsoft visual studio version 14 or higher. The reason we do this is
because some of the commands later on require certain packages from this
software. Once you click on the link, follow the prompt on screen to download
the visual studio installer.
Once the installer is downloaded, we start it up and we hit the continue
button. After some automated configuration is done we are met with the
following:
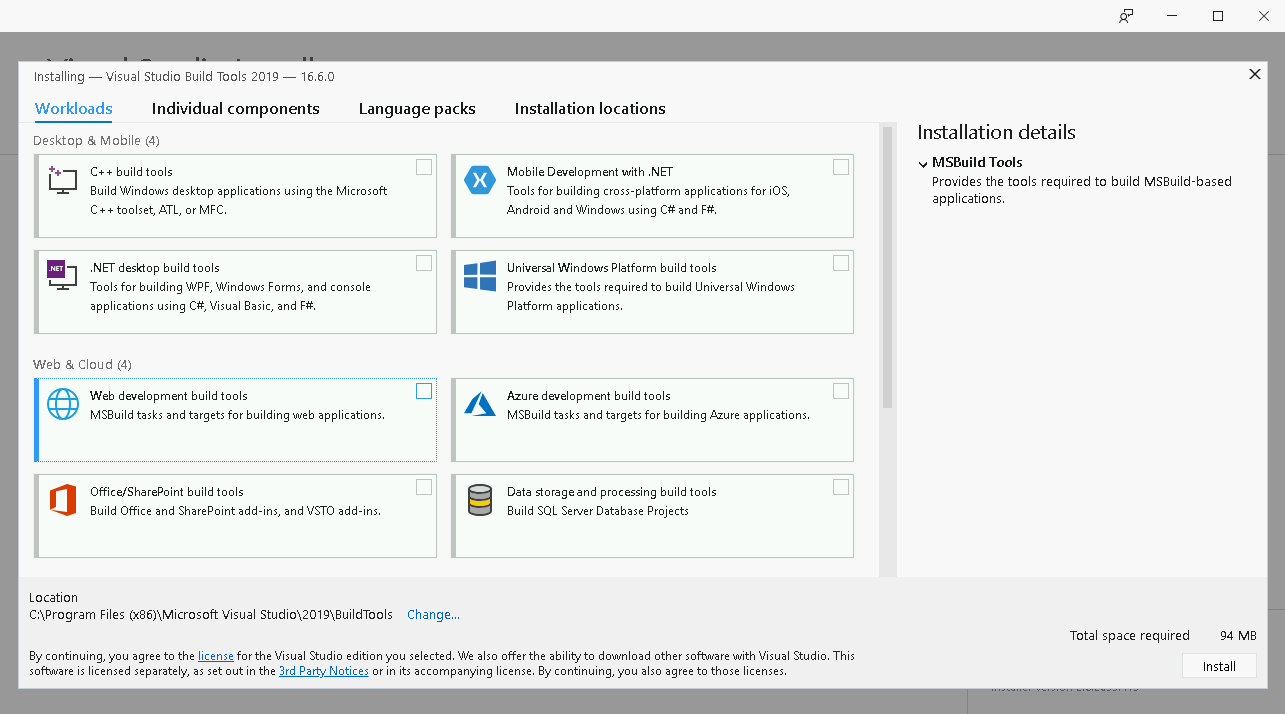
The real thing we are concerned about here is the C++ Build tools So select
those and then hit install.
Now that we have our prerequisite tools sorted, we can move on to preparing the
actual powershell command line. You will need to open windows powershell and
navigate to a directory that you want to hold your virtual environment and
various other files in. We then install the python virtual environment package
using pip and create our new virtual environment. In this example, we call our
virtual environment “ccloud” but this name is arbitrary and you can use
whichever name you find easy to remember.
# Create your new folder and navigate to it
$ mkdir CLI-folder
$ cd .\CLI-folder\

#Now we install the python virtualenv using pip and create a new virtual environment
$ pip install virtualenv
$ python -m venv ccloud
Once we have created our new virtual environment, we are going to activate it
and install our command line tools.
# From a PowerShell session started with administration rights activate your
virtual environment
  $ .\ccloud\scripts\activate

# Now we install the Python openstack client libraries into our virtual environment
$ pip install python-openstackclient python-ceilometerclient python-heatclient python-neutronclient python-swiftclient python-octaviaclient python-magnumclient
Once you have installed the required libraries to work with the Catalyst
Cloud onto your virtual environment; You have to make sure that whenever you
use powershell to interact with the cloud, you work on your Virtual
Environment. It may save time to make a short python script that runs the
activation command for you when you start powershell up.
Windows (Linux Subsystem)
This is a much easier method to using the Command Line Interface on a windows
machine. It allows you to create a virtual instance of a linux operating
system of your choice, then complete the rest of this tutorial as if you were
running said operating system.
For this example we will be using Ubuntu 18.04
Note
This method is only available if you currently run a 64bit version of windows.
First, you will need to open PowerShell as an Administrator and run:
# Running as Administrator
Enable-WindowsOptionalFeature -Online -FeatureName Microsoft-Windows-Subsystem-Linux
You will then need to download a version of Ubuntu from either the Microsoft
store, from a command line script, or manually unpack and install it from
their release website. For our purposes we will be using the Microsoft Store.
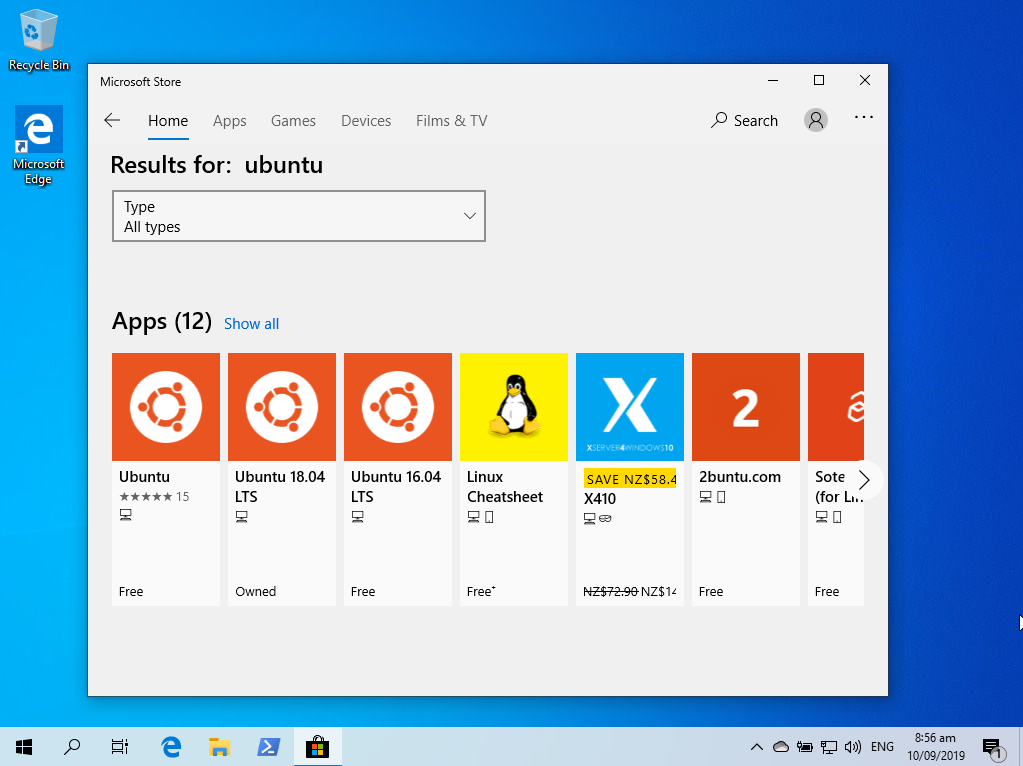
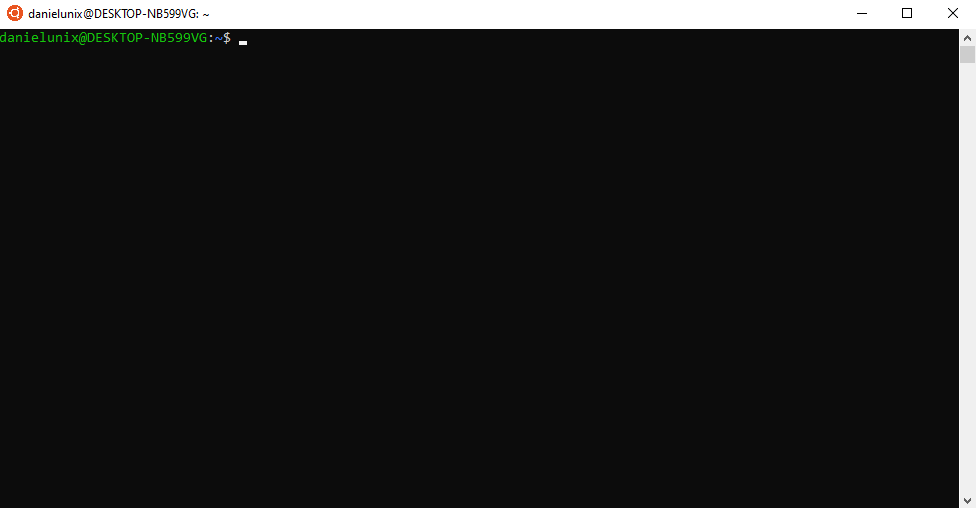
I’ve chosen to use Ubuntu 18.04. Once installed, you open the application
and set up an Unix account. An Unix account is only relevant on your machine
and once set up you won’t need to use your login details again (but hold on to
them for security purposes) Once that is done you will be met with a screen
somewhat like this:
Once you have this up and running, you’ll need to change directory to be
able to find files you download onto your windows machine.
The following code should get you to your root folder, aka ‘My Computer’
Then you simply need to follow the guide on how to install the CLI on ubuntu
detailed earlier on this page.