Using the web dashboard
The web dashboard is the easiest way of creating an instance as you can
visually see your resources being built with each step. The dashboard itself is
also easy to navigate and you should be able to follow the steps below
regardless of your background with cloud based systems.
Before you begin
We assume you’ve already signed up to
the Catalyst Cloud.
Log in to the dashboard at https://dashboard.catalystcloud.nz/
As a new user to the Catalyst Cloud your initial cloud project will come with
a pre-configured private network and a router connected to the internet in
the Hamilton region. We still cover the proper steps to creating these
networking resources in this tutorial; in the case you wish to follow these
steps to create a network on a different region.
Otherwise, let’s proceed with building your first instance.
Networking resources
This section will cover how to create the networking resources required to host
your instance. Should you already have them available on your project, then you
can ignore this section of the tutorial and move on to “uploading an ssh key”
Creating the required network elements
We need to create a router and network/subnet.
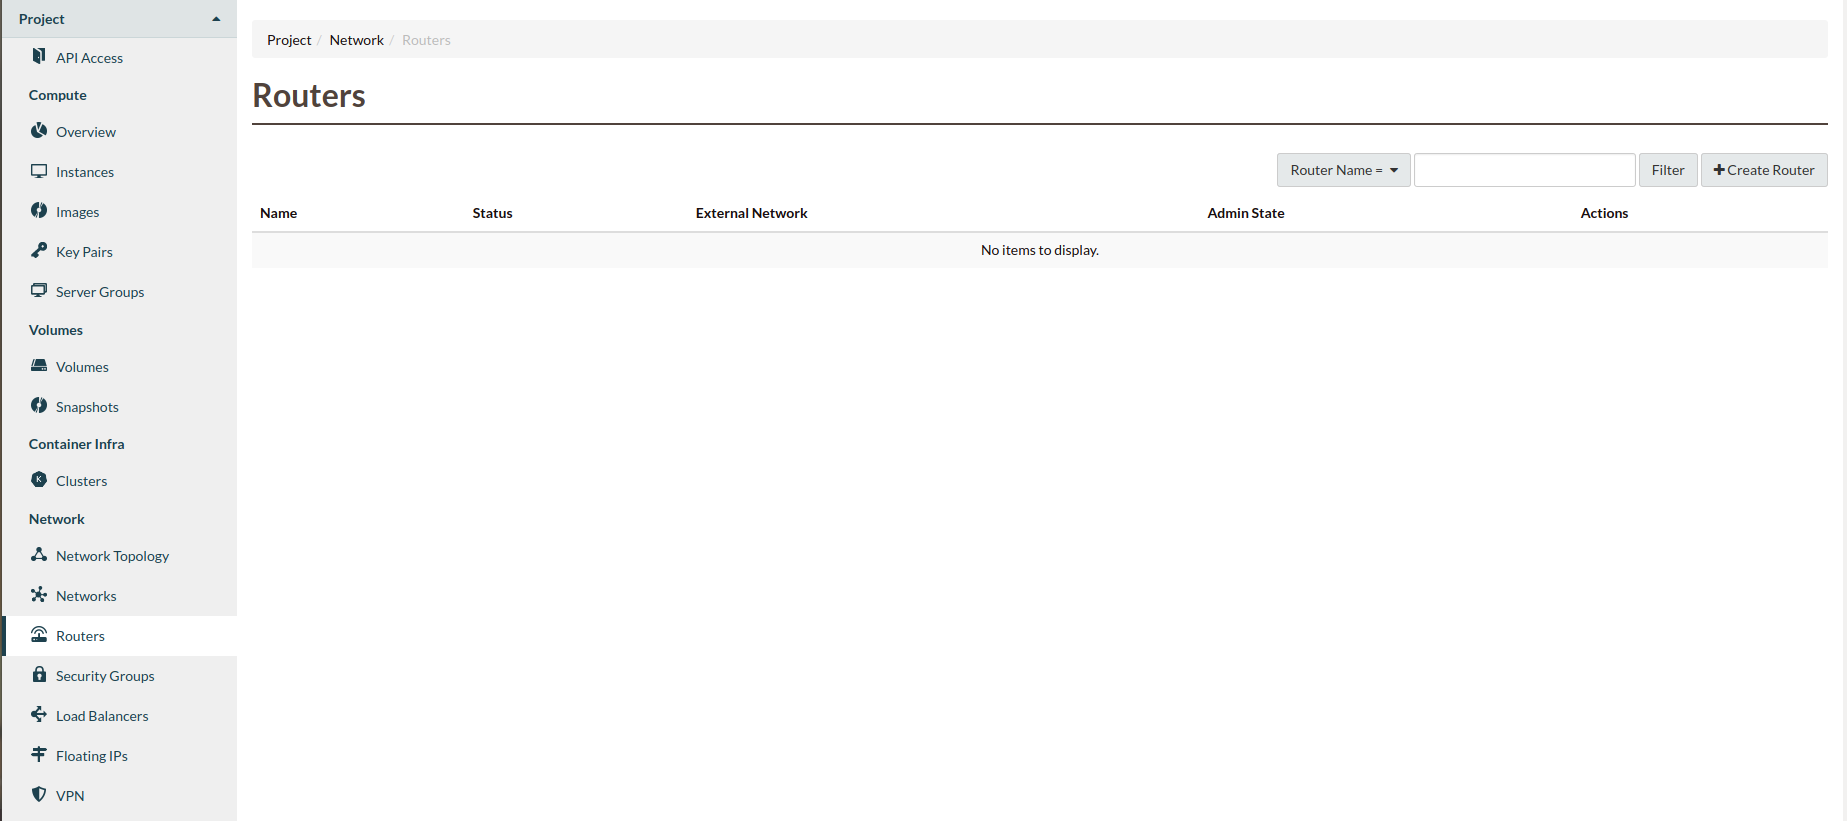
Navigate to the “Routers” section and click “Create Router”:
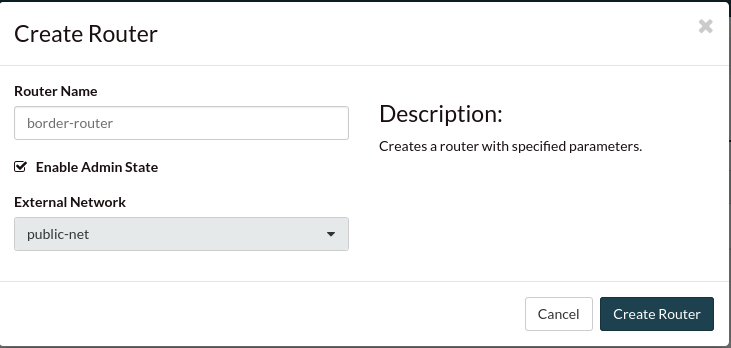
For this example we will name our router “border-router”, this is an
arbitrary name, you could use whatever you would like.
Then select the admin state check-box and select
“public-net” as the external network:
Navigate to the “Networks” section and click “Create Network”:
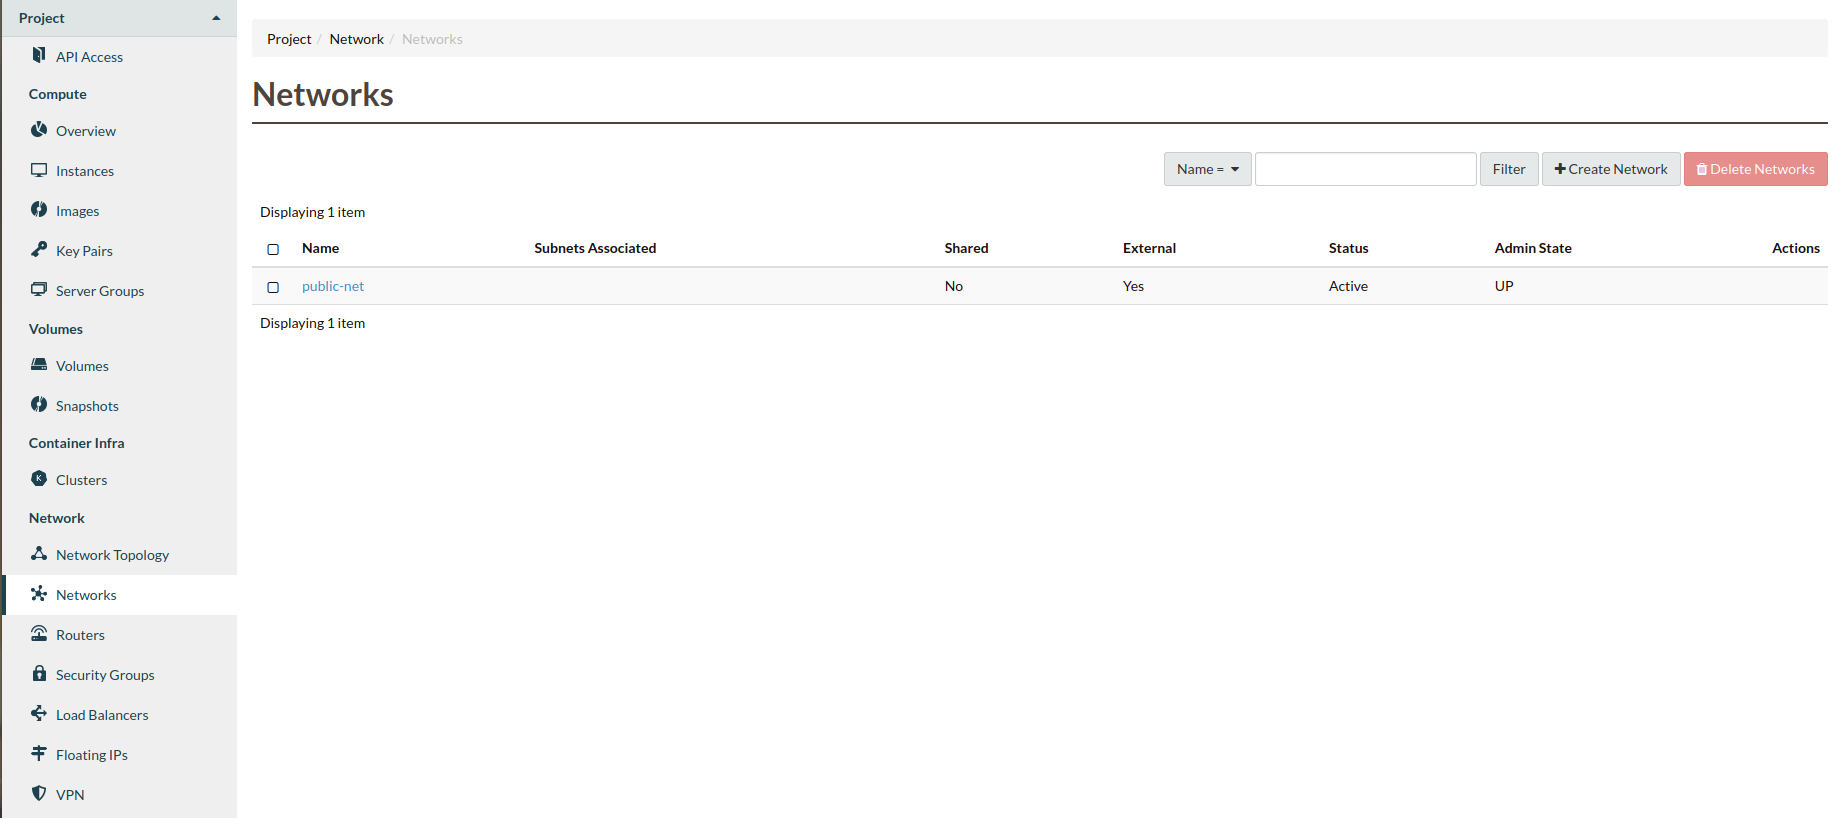
We will name our network “private-net”, we will choose this name
so that we do not confuse it with the “public-net”. You should
also select create subnet and click “Next”:
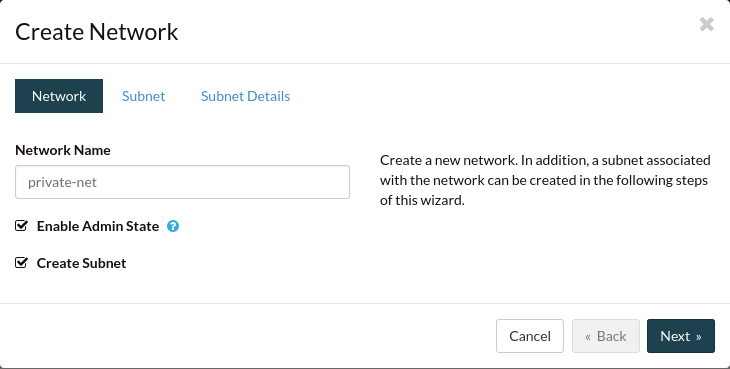
Name your subnet “private-subnet”. Here you can either select a network address you
would want to use for your subnet, you can allow one to be assigned for you,
or you can disable the gateway all together. For this tutorial we will apply a
simple address and click “Next”:
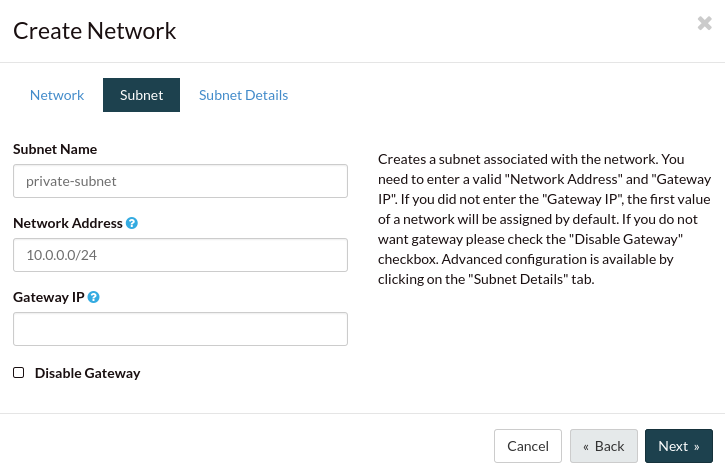
The Subnet Details page is normally, by default, empty. However you can define
the different fields however you’d like. Specifications like:
At the moment if you leave the DNS field blank the dashboard will automatically
allocate it to the catalyst cloud DNS. So it is entirely optional.
Click on the router name in the router list:

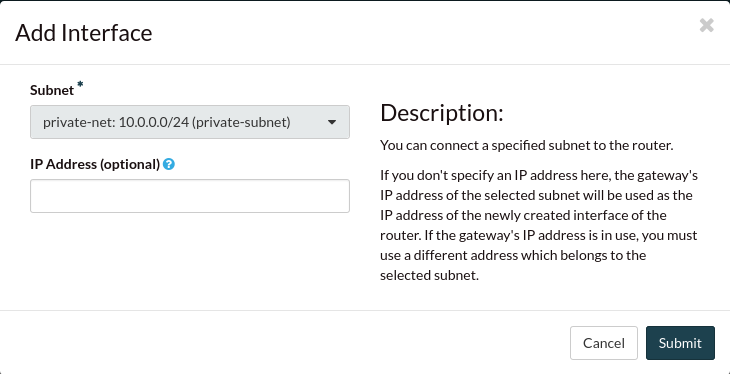
Select the “Interfaces” tab and click “+Add Interface”:

Select the correct subnet:
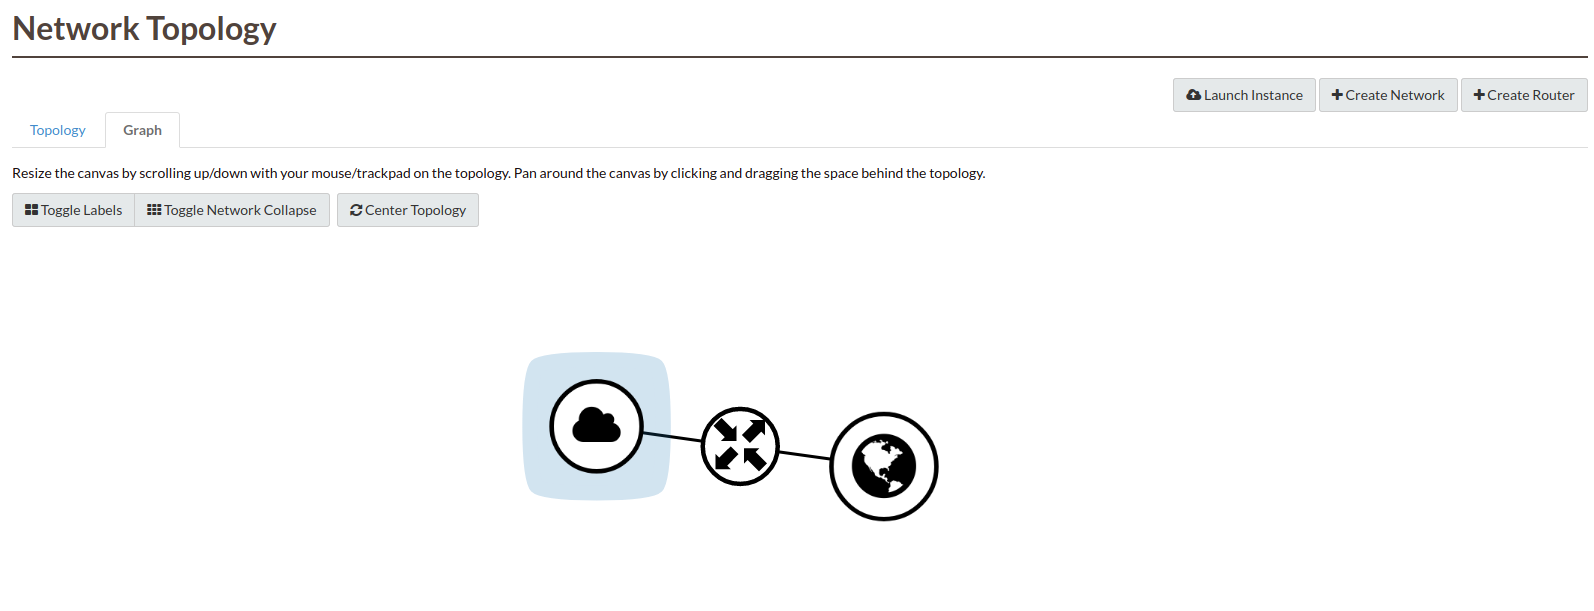
You should now have a network topology that looks like this:
Uploading an SSH key
The first thing we need to do is to have a way to access the instances we
create. Typically this is done by a Secure Shell tunnel, or SSH. To allow our
instance to accept our workstation’s SSH tunnel request, we must add our SSH
public key to our instance. We can do this right from the dashboard.
You can either import an existing public key or have the Catalyst Cloud
create a key pair for you. We document both below.
Creating a new key pair
If you haven’t generated a SSH key pair before, Catalyst Cloud can create one
for you.
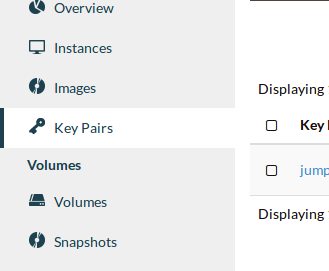
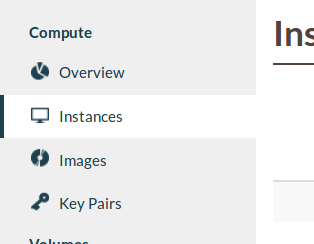
Navigate to the Key Pairs tab.
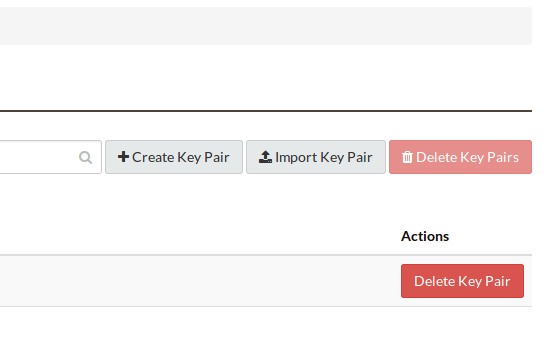
Select the Create Key Pair button.
Name and create the key pair.
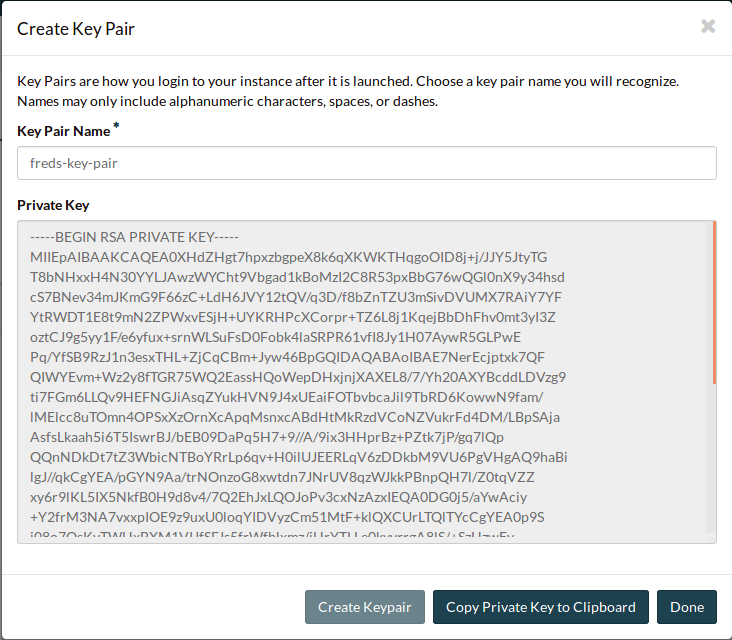
Click Copy Private Key to Clipboard and paste it into a text file in a
secure location. Make sure the file is saved as plain text.
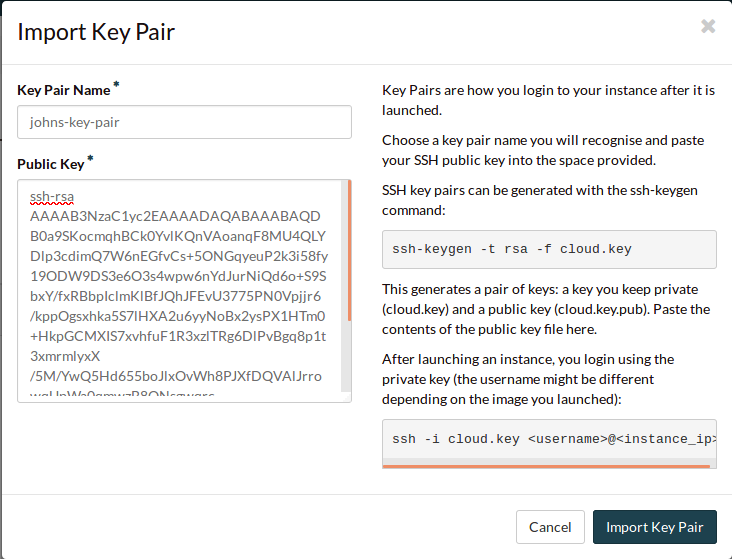
Importing an existing key pair
If you already have an SSH key pair, you can import the public key into
Catalyst Cloud.
Navigate to the Key Pairs tab.
Select the Import Key Pair button.
Name the key pair, and paste your public key into the box.
Now that you’ve either imported or created an SSH key pair, we can continue.
Booting an instance
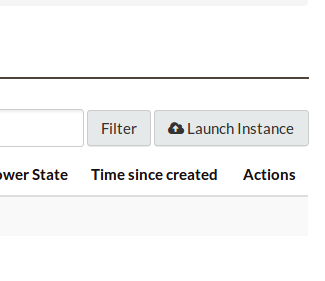
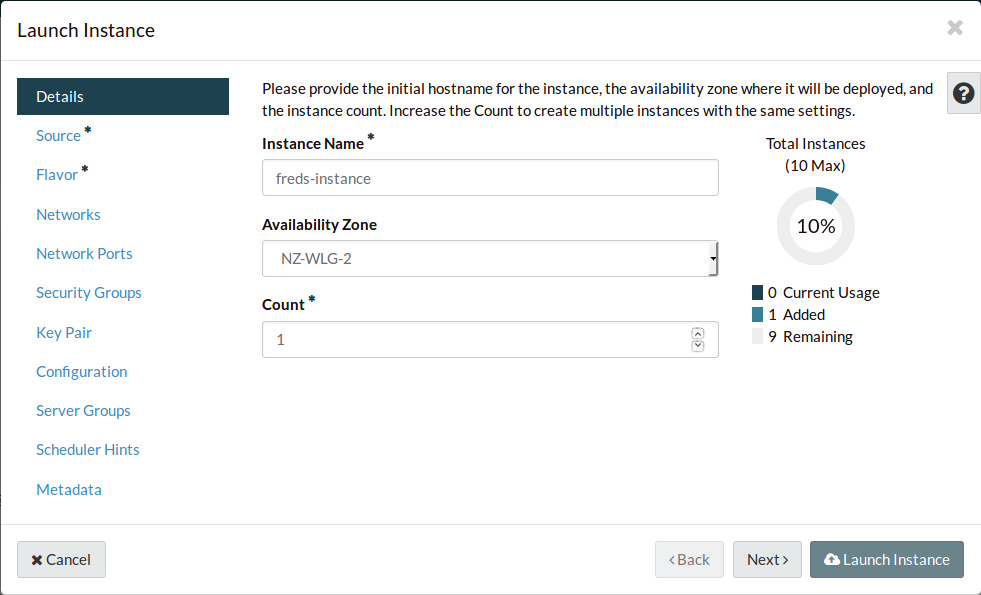
We are now ready to launch our first instance! Navigate to the Instances
page.
Select launch instance.
Name your instance.
Navigate to the Source tab.
There are many types of sources you can use for your instance. In this case,
we’ll use an Image to create a standard Ubuntu installation.
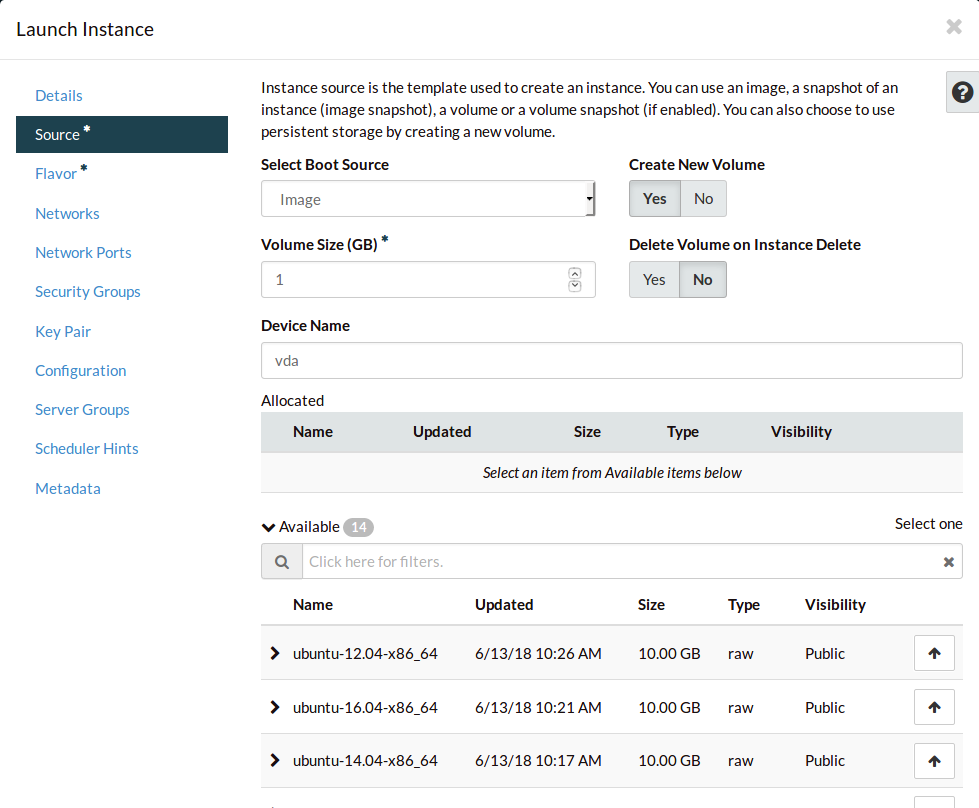
Search for Ubuntu.
Select the image for Ubuntu 18.
By default the volume will just be large enough to hold the image’s files.
We’ll increase it to 100GB so we have enough space for later.

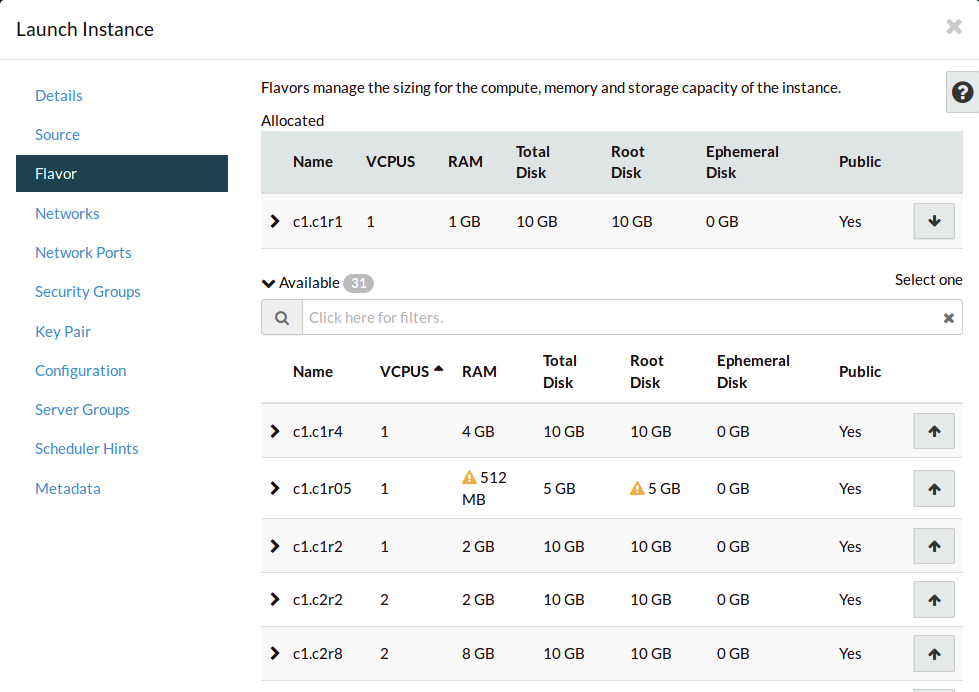
Navigate to the Flavor tab. This is where we select the compute resources
we want to assign to our compute instance.
Order the flavors by VCPUS, and select an appropriate size.
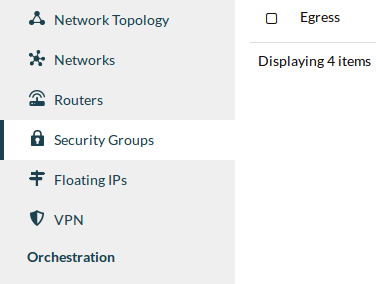
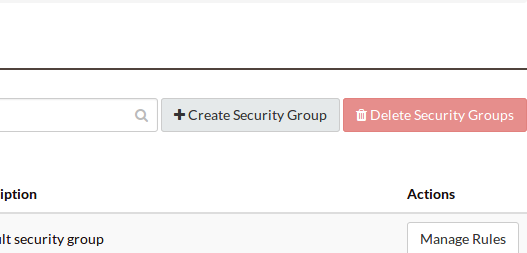
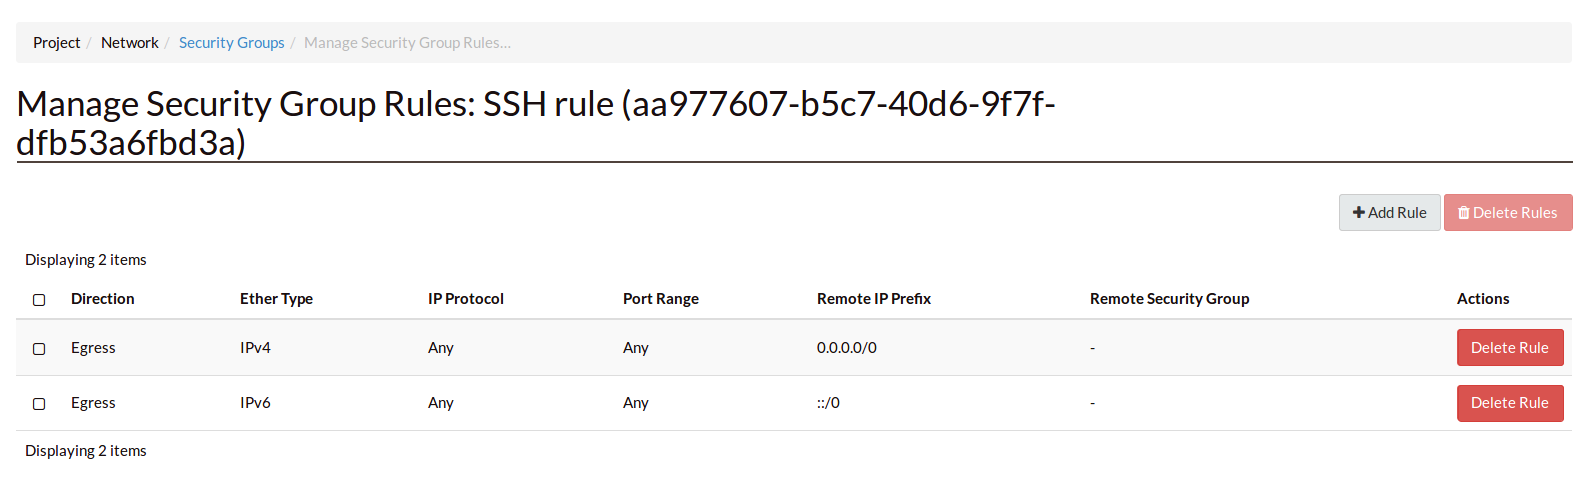
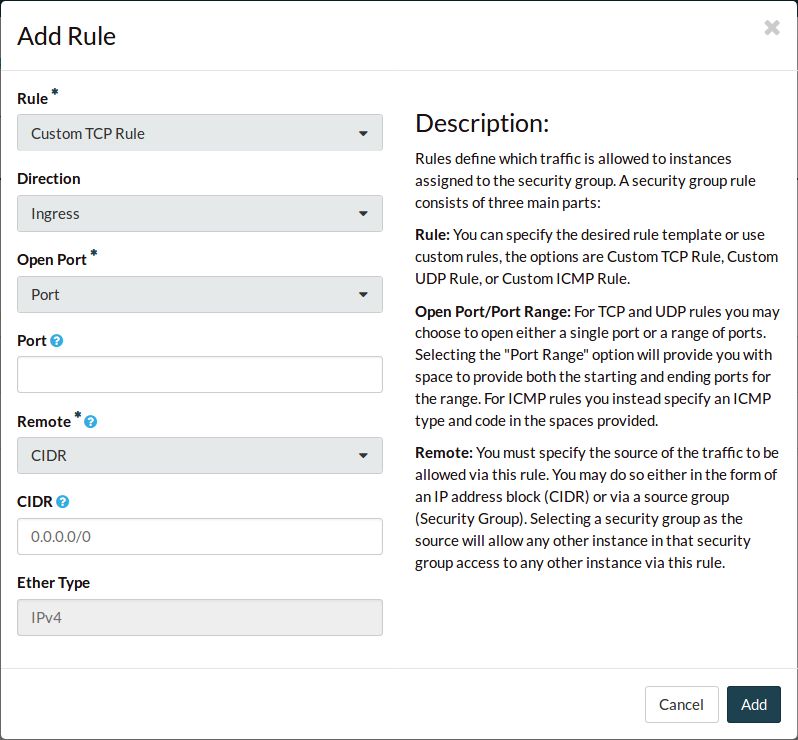
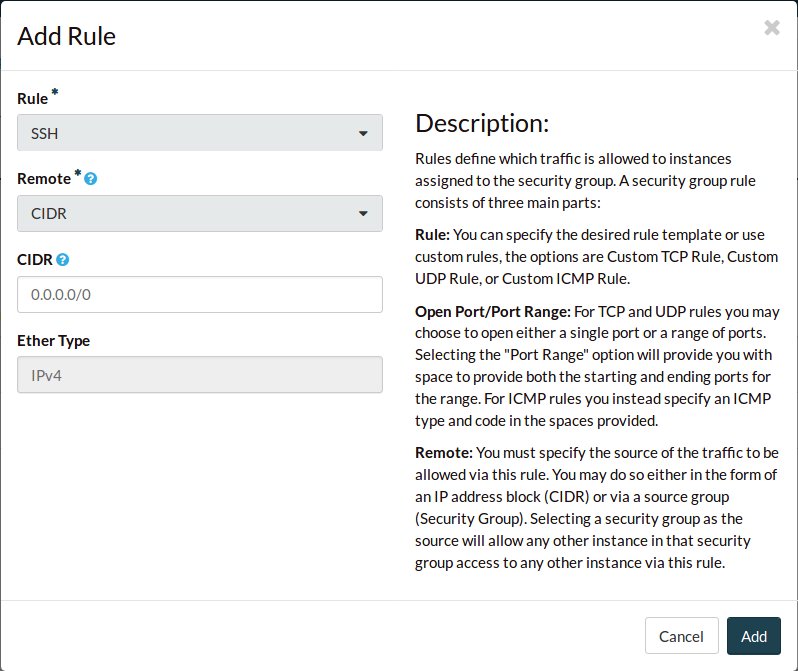
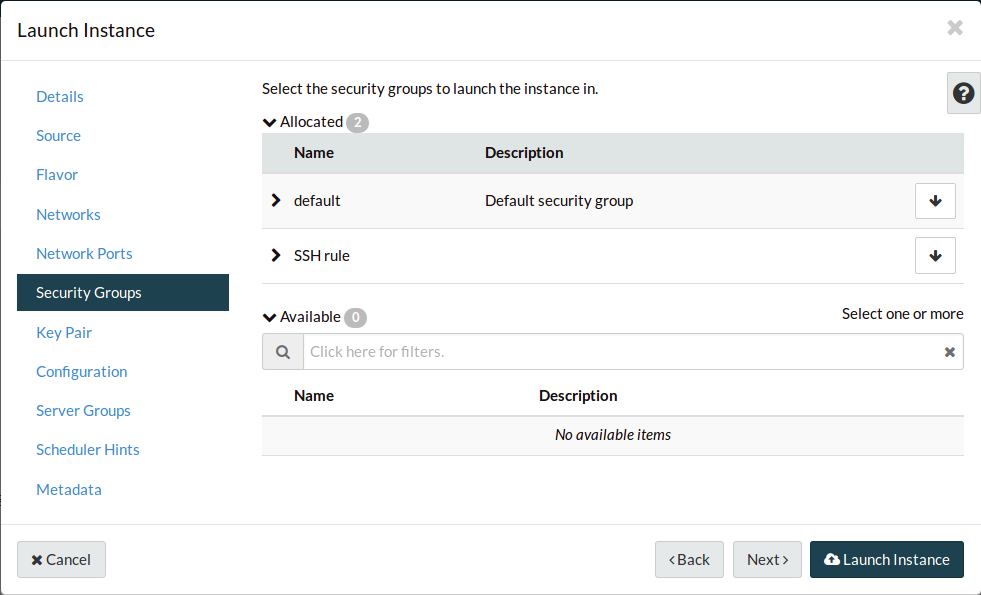
Navigate to the Security Groups tab. Add your new security group.
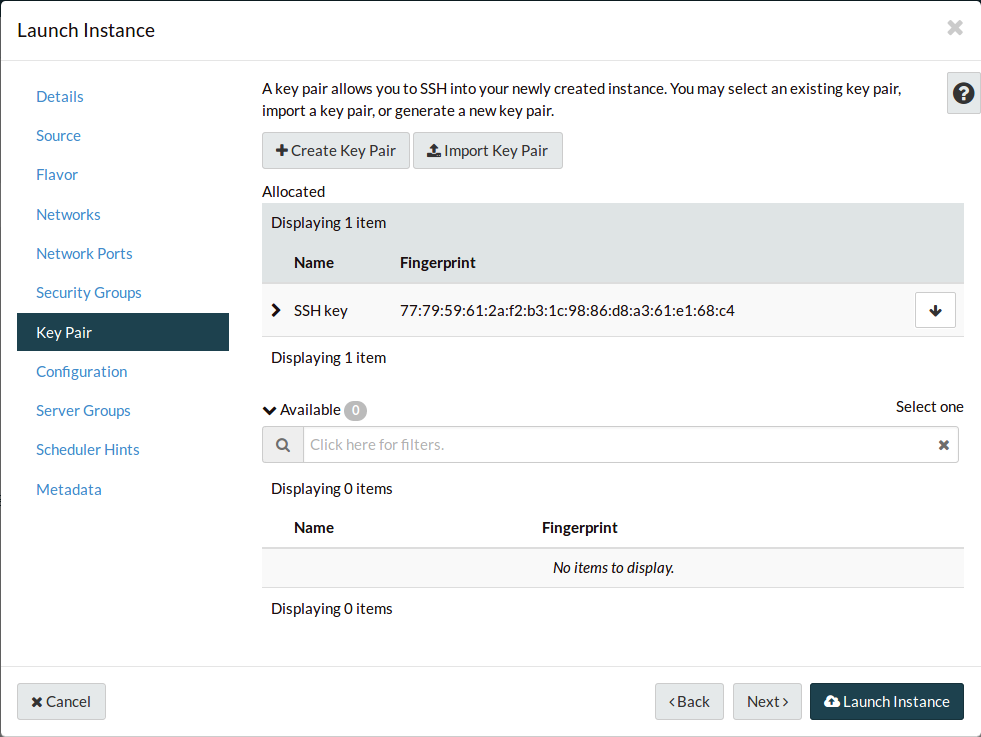
Navigate to the Key Pair tab. Your key pair should already be assigned, but
if it’s not, do it now. This will inject your public key into the new instance,
so that your private key will be accepted for SSH connections.
All the other tabs are for advanced features, and we can safely ignore them for
now.
Select Launch Instance.
Wait for your instance to launch.
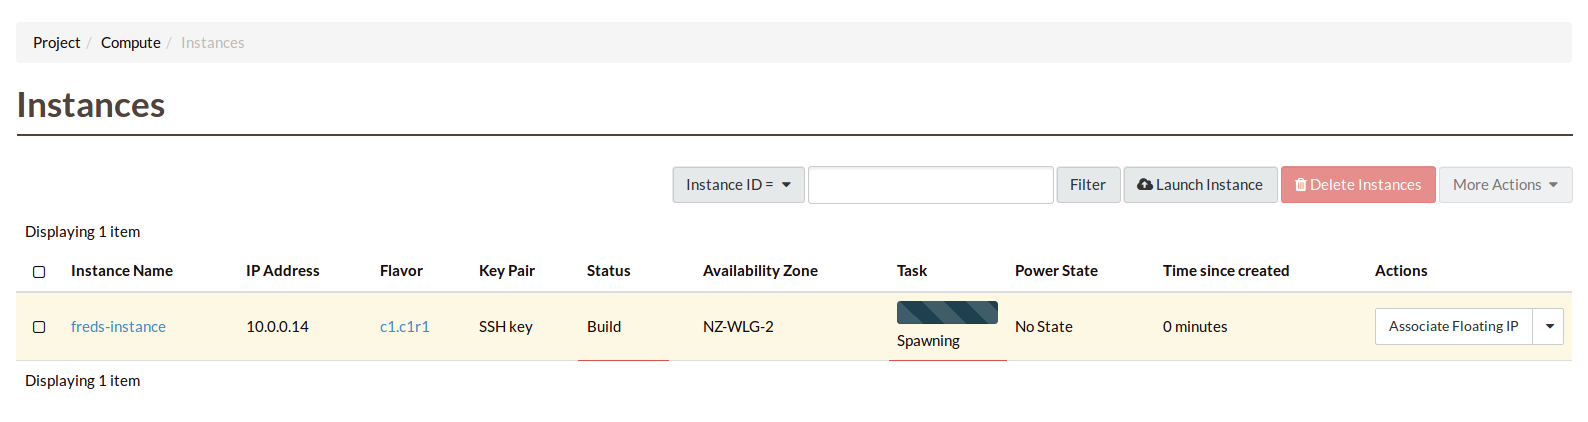
Finally, to make your instance accessible, we need to give it a publicly
available, static IP address, because currently the instance only has an
internal IP address from instance’s subnet. These are Floating IPs.
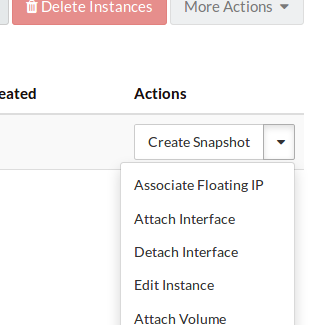
Use the instance’s dropdown to find the Associate Floating IP option and
select it.
Select the + to create a new floating IP address.
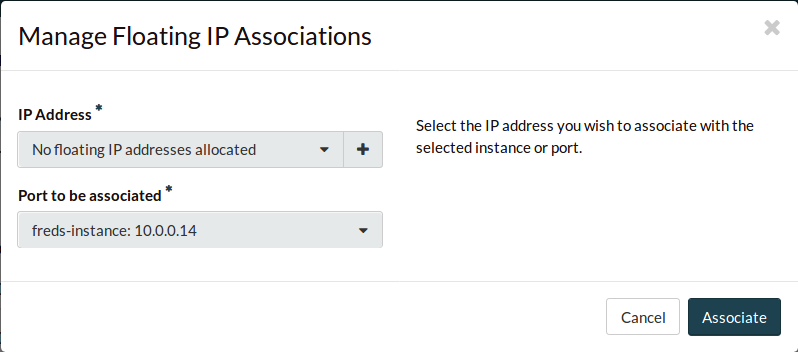
Select Allocate IP to provision yourself a floating IP address.

The new floating IP should already be assigned.
Select Associate to associate it to your instance.
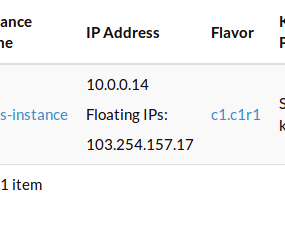
The floating IP is a way to access your new instance.
Congratulations, you’ve now booted an instance. Now we’ll connect to it with an
SSH tunnel so you can start using it.
Connect to the new instance
Before we SSH in, we should give the private SSH key the correct, more secure
permissions.
$ chmod 600 <path to private key>
You can now connect to the SSH service using the floating IP that you
associated with your instance. This address is visible in
the Instances list, or under the Floating IPs window.
$ ssh -i <path to private key> ubuntu@<your floating ip>
You should be able to SSH into, and interact with this instance as you would
any Ubuntu server.
Learning more from here
Now you’ve learned a great deal about Catalyst Cloud instances, security groups
, floating ips, SSH key pairs, and images. To move forward from here, you might
want to: